The first reel I filmed of a listing was four minutes of me walking slowly down a hallway. Nobody watched past the front door, and I did not blame them.
Learning how to make real estate reels has very little to do with gear. It is about order: what you film, in what sequence, and what you cut. Everything below is done on the phone already in your pocket, in about 45 minutes on site and 20 minutes at a desk.
Before you arrive: three decisions
Most weak reels are decided before the camera comes out. Make these three calls in the car.
One idea per reel. Not the whole house. The light in the kitchen at ten in the morning. The walk from the terrace to the water. The primary suite. A reel about everything ends up being about nothing.
A target length. For a listing, 15 to 30 seconds is plenty. You can go longer, but every extra second has to earn its place, and on a phone edit it rarely does.
Your audio. Pick the track before you shoot, because the tempo decides how long each clip should be. A slow piano piece wants three-second clips; something with a clear beat wants one-second cuts. I walk through how I choose in best audio for real estate reels.
How to make real estate reels on a phone: settings and handling
You do not need a gimbal, a drone or a new phone. You need a clean lens and a steady body.
- Wipe the lens. It sounds obvious. It fixes more hazy footage than any setting.
- Shoot vertical, always. Reels are 9:16. Footage cropped from horizontal loses the ceiling and the floor, which are half of what makes a room feel generous.
- Pick 4K at 30fps if you have the storage. It gives you room to crop in the edit. 1080p is fine if you do not.
- Lock exposure. Tap and hold on a mid-tone wall until the phone locks focus and exposure. Otherwise the picture pumps brighter and darker every time you pass a window.
- Stay on the main lens. The 0.5x ultra-wide makes rooms look larger, but it bends vertical lines near the edges. If you use it, hold the phone dead level so door frames stay straight.
- Move with your legs, not your wrist. Elbows in, phone at chest height, walk heel to toe. Slow is almost always better.
- Prepare the house. Every light on, every blind open, toilet lids down, counters cleared to one or two objects.
The 45-minute shot list
Film each shot three times, six to eight seconds each. You will use about two seconds of the best take. That ratio is normal and it is what makes the final cut feel calm.
Exterior — 10 minutes
- The approach. A slow walk up the path or drive, starting a few steps back.
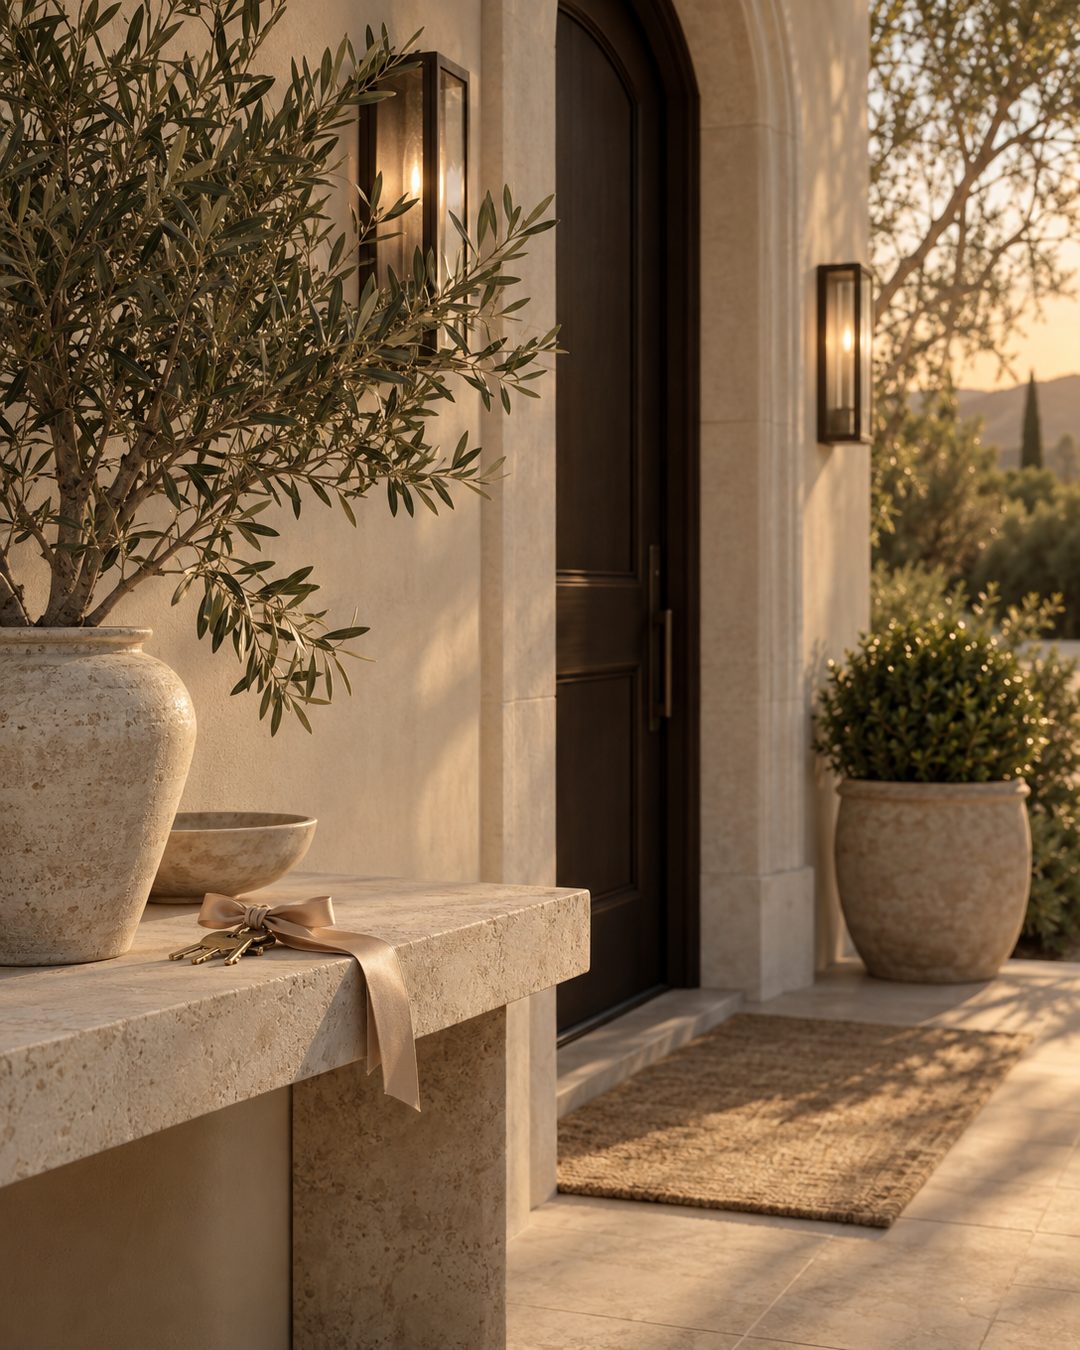
- A front door detail. The handle, the house number, a lantern. Hold still for this one.
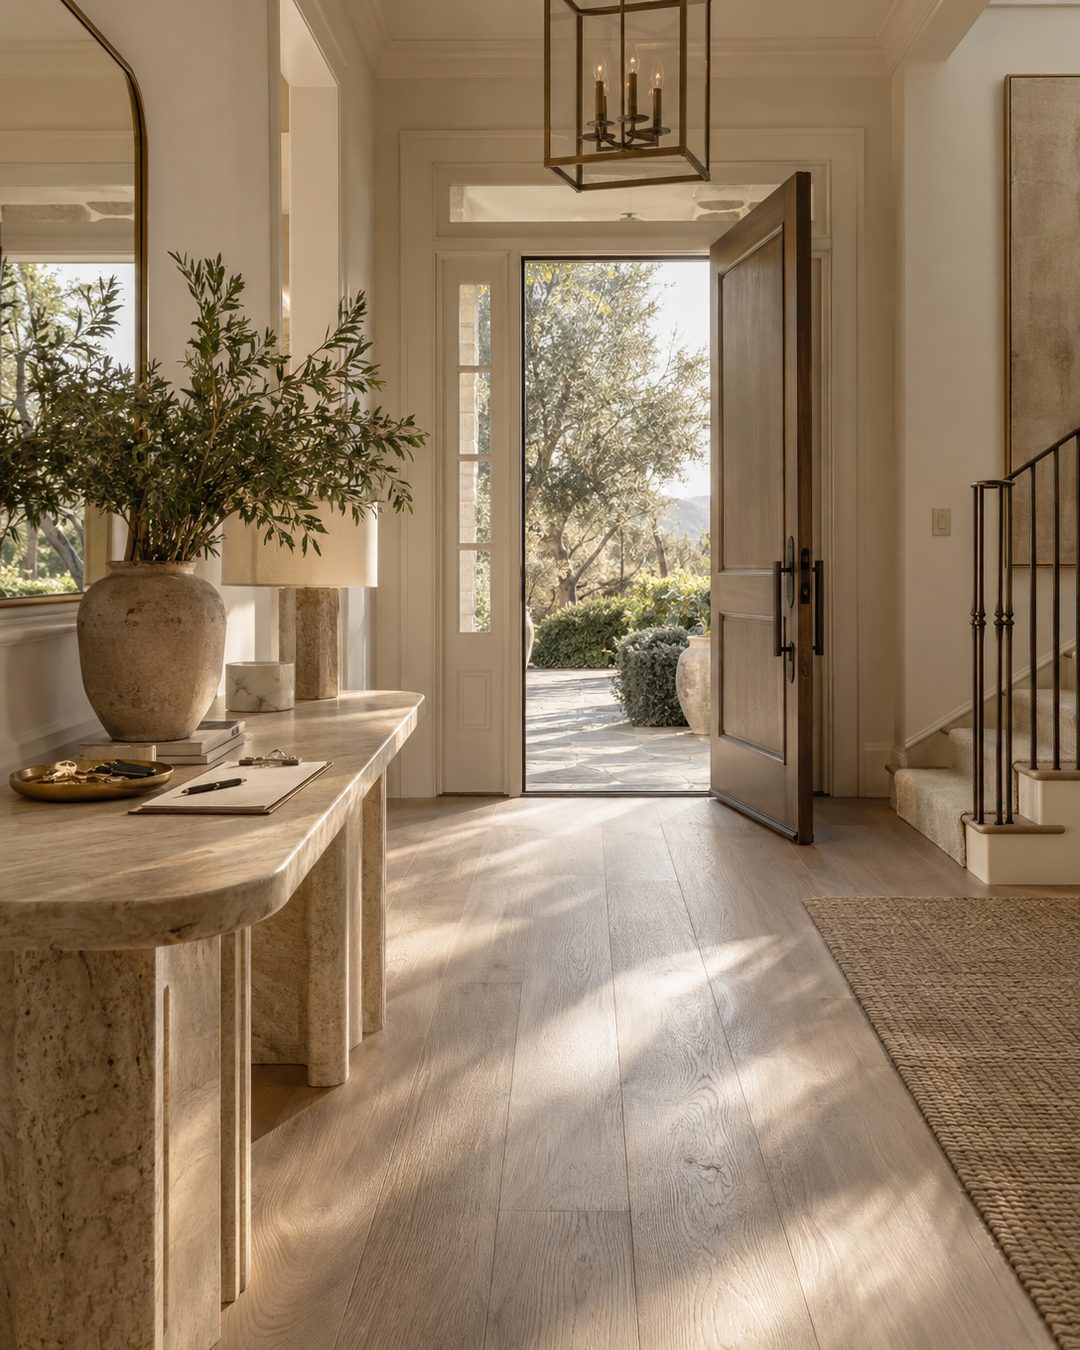
- The push-in. Open the door and walk through it in one continuous move.
Main living areas — 15 minutes
- The reveal. From the entry, a slow slide sideways that uncovers the main room.
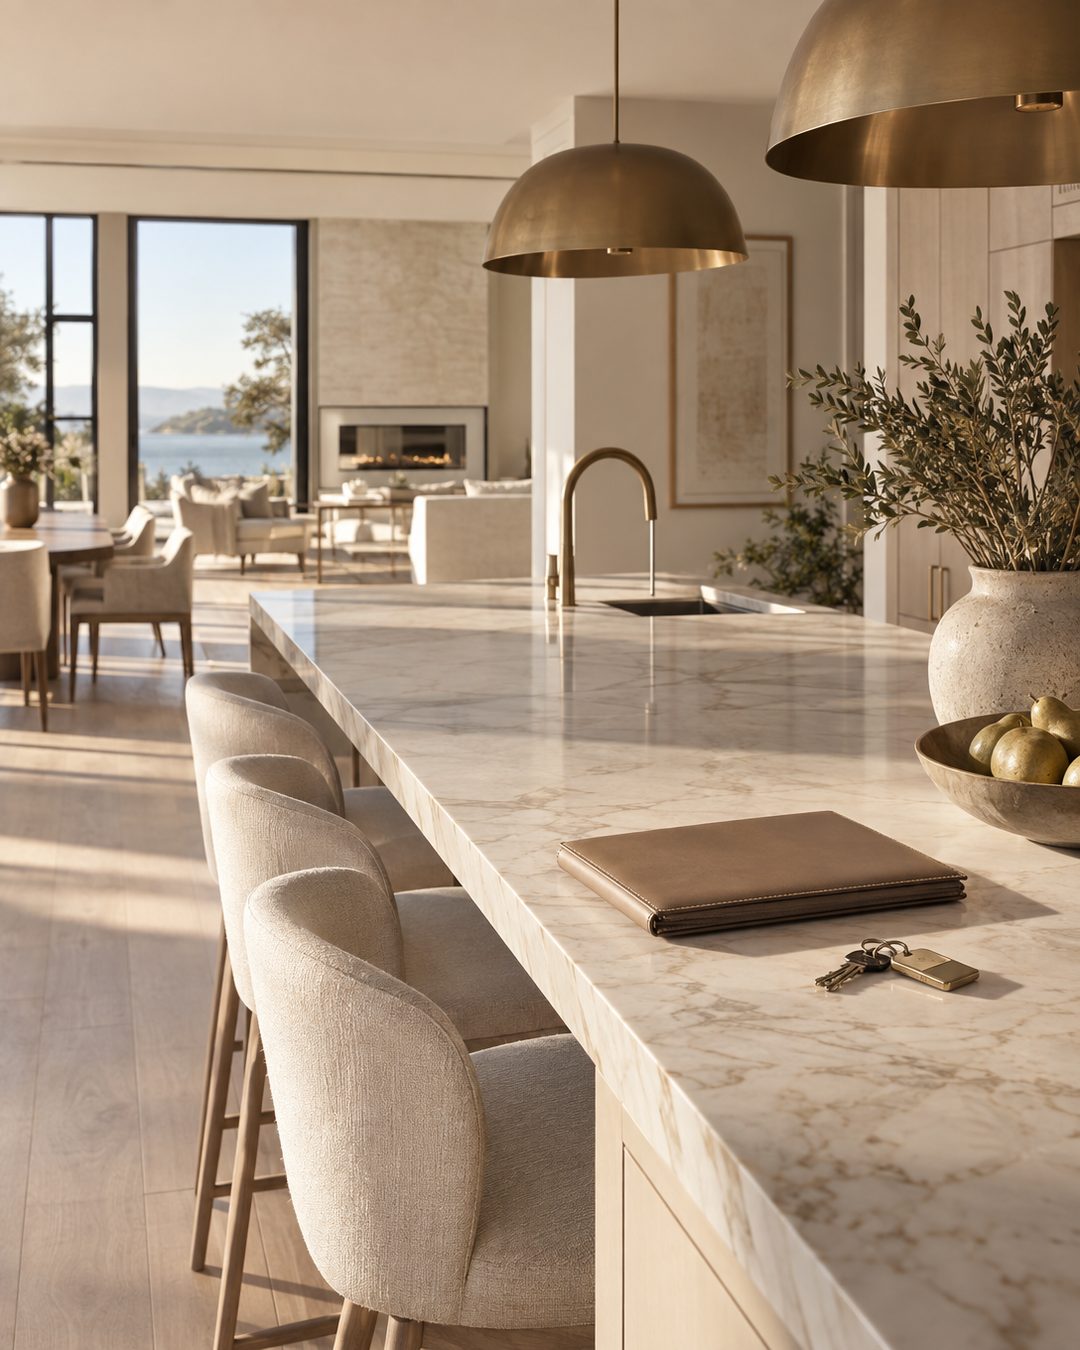
- The kitchen pass. Walk the length of the island at hip height, parallel to it.
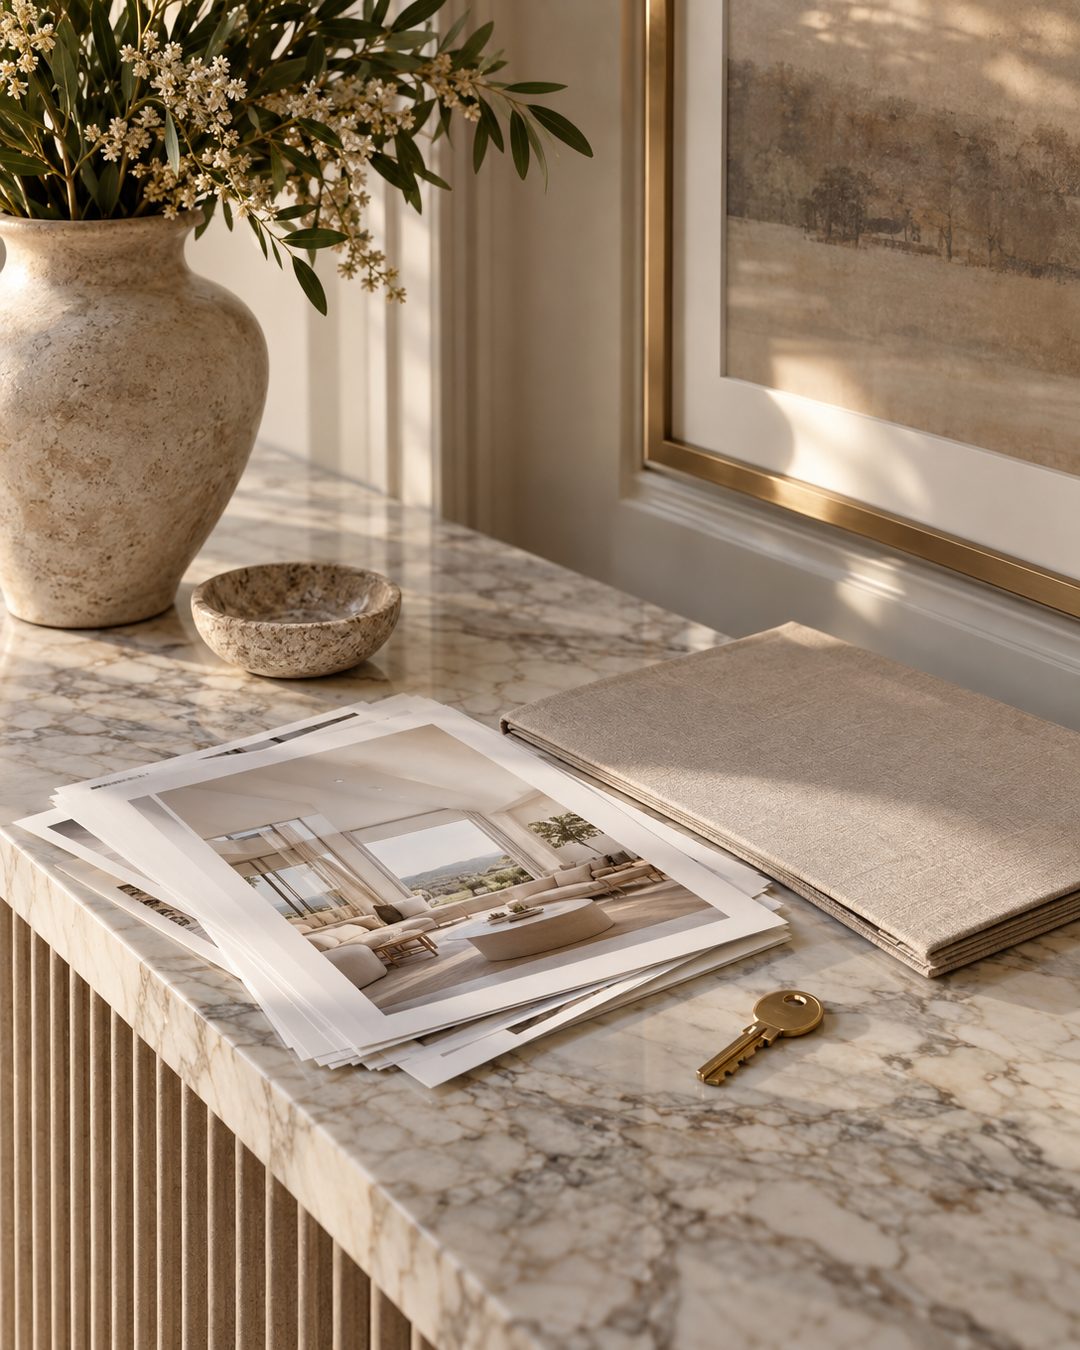
- Two material details. The tap, the edge of the stone, a cabinet pull, the grain of the floor.
- Window light. Frame the view or the light falling across the floor and do not move.
Private rooms — 10 minutes
- Primary bedroom from the doorway. One slow step in, nothing more.
- One bath detail. A vanity, a freestanding tub, a shower niche.
Outdoors — 10 minutes
- The wide. Terrace, pool, garden or balcony, filmed from the door you would step out of.
- The ending. Something that closes: a door shutting, a light switched off, the view at the end of the dock.
Say the property has two decent rooms and one great one. Spend the extra takes on the great one. The shot list is a ceiling, not a quota.
The edit: 20 minutes, in this order
Use whatever editor you already have — the Instagram editor is fine for this. The order matters more than the app.
- Open on your strongest shot, not the front door. The first second decides whether anyone stays. If the view is the reason to buy, lead with the view and let the approach come later.
- Then walk the house in a logical path. Entry, living, kitchen, bedroom, outdoors. Viewers should never feel teleported.
- Cut on the beat. Trim every clip to one or two seconds and line the cuts up with the music.
- Add one line of text in the first two seconds. Keep it in the center of the frame, away from the edges where Instagram's buttons and caption sit.
- Correct light once. Lift the shadows slightly, keep whites white. Do not push saturation; a lurid sky reads as cheap.
- End on your closing shot, with a beat of silence or a held frame.
- Choose the cover. Pick a still with clean lines and keep any text in the middle, because the profile grid crops the top and bottom.
Fill-in-the-blank on-screen hooks
- Just listed in [Neighborhood] — [beds] bed, [price band]
- The kitchen in this one
- [Number] seconds inside [street name]
- What [price] buys in [Neighborhood] right now
- The room the sellers will miss most
- Morning light on [street name]
Keep the hook to one line. The caption does the explaining — if you need a structure for it, my captions that actually convert formulas slot straight in.
Three reels from one shoot
The 45 minutes on site should not produce one post. Cut the same footage three ways:
- The tour — the full 20–30 second walk-through for the listing launch.
- The one-room reel — ten seconds on the best room, posted a few days later.
- The details reel — six or seven material close-ups cut fast to music, for the week you would otherwise post nothing.
Then pull single clips into stories across the following week. A kitchen pass with a poll sticker is an easy day, and there is a full week of those in my 7-day story plan.
Before you post: a checklist
- Seller has approved video of the property.
- Nothing personal in frame: family photos, mail, medication, alarm panels, gate codes.
- Brokerage name and any disclosures your market requires are in the caption or on screen.
- Text describes the home and the neighborhood, never who the buyer should be.
- Hook is readable in the first two seconds, inside the center of the frame.
- Audio is licensed for use in Reels (chosen from Instagram's library).
- Cover frame chosen and checked in the grid crop.
- Caption written, with one clear next step.
If you would rather spend those 20 editing minutes on showings, you can see how the finished posts get captioned and published for you on how it works.
A reel you filmed yourself is the one piece of content no template can replace, which is why the weekly drop is built to carry everything around it.